I love to go to home decor magazines and shows for inspiration as I create my paper crafts. Shiplap is EVERYWHERE and I just love the look. As I was working on my Guest Designer work for Jillibean Soup, I was inspired by the Wordfetti to create a shiplap background.
As you can see, mission accomplished as the background for my picture!
Here's a process video that takes you thru both that and the rest of the layout:
So what do you think? It's a manageable technique! I bet there are tons of other supplies out there as well that you can create the look with!
Check out all my supplies in the Affiliate Thumbnails below:
I have the privilege of being a guest designer for Jillibean Soup this month and they sent me Souper Celebration to create with. I have always loved to do birthday layouts so it was right up my alley! Since I do so many birthday layouts I always am on the lookout for fresh ideas. Today I thought I would share some boy birthday scrapbook layout ideas.
1) Create a unique title based on current trends.
First up is this teenage birthday boy layout for Jillibean Soup! For this one I shied away from too many themed elements, because he's a teenager! I went with HB2U thinking that worked well for this texting/instagraming generation. That was a really easy way to make it work for his age!
Here's the process video for this layout:
2) Get clever with icons!
There are lots of ways to personalize a little boy layout but one of my favorite ways to is to add letters to different icon stickers. In this layout those little monsters were perfect for adding the word "Dude" to.
3) Use birthday icons in multiples to embellish and add interest to your layout.
Imagine this layout without those balloons down the center. It would be a much more boring and flat layout. With them it helps draw the eye down from the title to the pictures and the various heights and colors add pops up excitement.
4) Let the pictures lead the way.
You can't look at this layout and not notice his ice cream covered face. By combining banner pieces and a circle punch I was able to easily incorporate ice cream cones into my layout embellishments.
5) You can't go wrong with banners!
Banners are everywhere in the paper crafting industry. But they make a whole lot of sense when you use them on birthday layouts and on this one I incorporated a whole line of them as well as one that makes a subtitle.
Check out the Affiliate Thumbnails below to find any of these products that are still available.
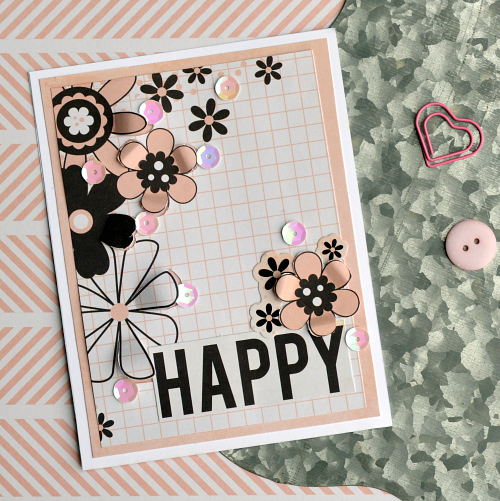
I'm loving the Be Happy Paper Pad from Paper House Productions, so when I needed to make a wedding card and create something for the Scrapbook Adhesives by 3L Blog, I went back to that pad!
**I receive products from Scrapbook Adhesives by 3L®,Paper House Productions and SRM Stickers for use in my projects. The opinions are completely my own based on my experience and doing so I can share what I personally love to use.**
In order to add a variety of techniques and elements to this I needed to utilize multiple adhesives.
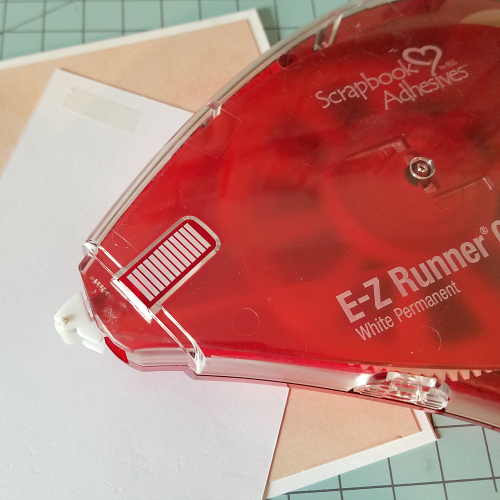
The E-Z Runner® Grand Dispenser has quickly become an absolute favorite for me. It’s perfect for all your normal adhering, loads easily, and is sturdy. I used it to add my first two layers of patterned papers to the card base.
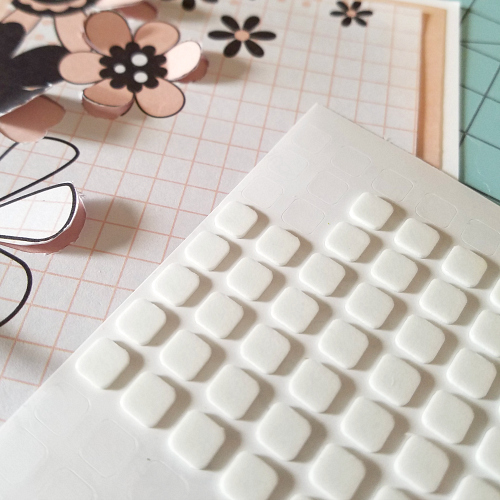
Next I used Thin 3D Foam Squares to pop up the petals on my card. I used a craft knife to cut those up and the squares ensure they will stay up even after getting smashed in an envelope.
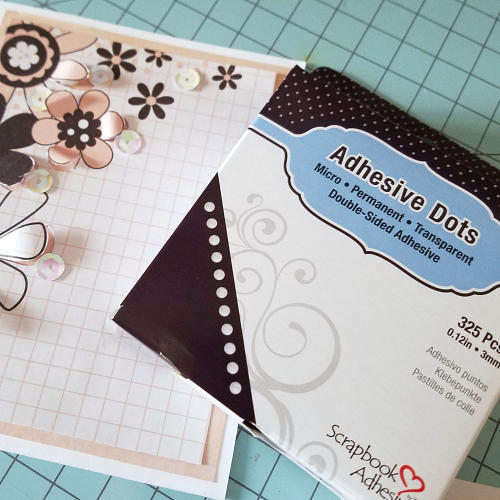
Sequins can be a headache to attach. But Adhesive Dots Micro ensure the headache won’t hit! I used these to attach all my sequins and I also like to use them with other small embellishments like wood veneer and buttons.
Here's the supply list for this card along with Affiliate Thumbnails:
Have you seen the Paper House Productions Be Happy Paper Pad, I'm completely smitten! It's got a great color combo, beautiful patterns, and just exudes happy! Today I have a layout up on their blog combining it and PenBlades.
**I receive products from Scrapbook Adhesives by 3L®,Paper House Productions and SRM Stickers for use in my projects. The opinions are completely my own based on my experience and doing so I can share what I personally love to use.**
This layout was so fun to put together - I loved working with a softer color palate than I normally do. Of course these days, you can almost always expect a process video and so here that is - this one is a super short one too!
Here's affiliate thumbnails for the supplies I used on this layout:
There's a brand new sketch at Stuck?! Sketches! And I've got a layout to share with you all about Grandma! But first here's the sketch for this month!
**I receive products from Scrapbook Adhesives by 3L®,Paper House Productions and SRM Stickers for use in my projects. The opinions are completely my own based on my experience and doing so I can share what I personally love to use.**
This sketch was probably my favorite so far, my layout came together for it so quick and smoothly! I love when that happens!
I do have a video to go along with this sketch and layout too! Here it is:
Here's the supply list with Affiliate Thumbnails for this project:
If you play along with the sketch be sure to link it up at Stuck?! Sketches! so we can all enjoy it!