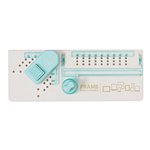
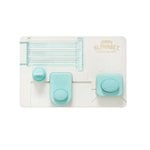
How long do you wait before you make a bigger purchase? I tend to hold off for quite awhile until I'm certain that I really want the product. After struggling with creating frames forever, and doing it again recently, I decided the We R Memory Keepers Frame Punch Board was a logical purchase for me! I have generally had good experiences with products from We R Memory Keepers so I expected a good quality product. Here's my video review and initial thoughts on it:
This isn't a brand new product on the market but it also isn't terribly old. I'm excited to finally have it and I know you'll be seeing me using it for a wide variety of projects! I definitely see it being useful in making Scrapbook Layouts, Cards, and doing some Bible Journaling as well!
If you want to check it out for yourself you can find it by clicking on the thumbnail below for an Affiliate Link to Scrapbook.com - Thanks for your Support.
Showing posts with label We R Memory Keepers. Show all posts
Showing posts with label We R Memory Keepers. Show all posts
Sunday, July 16, 2017
Friday, May 12, 2017
Little Boy Scrapbook Layout
One of my favorite things about scrapbooking is that it allows me to capture the “little” memories – special everyday moments like cute habits or sayings from your kids. Today I have a layout that does just that: captures the little things my son says! And bonus, I'm using several adhesives from Scrapbook Adhesives by 3LⓇ
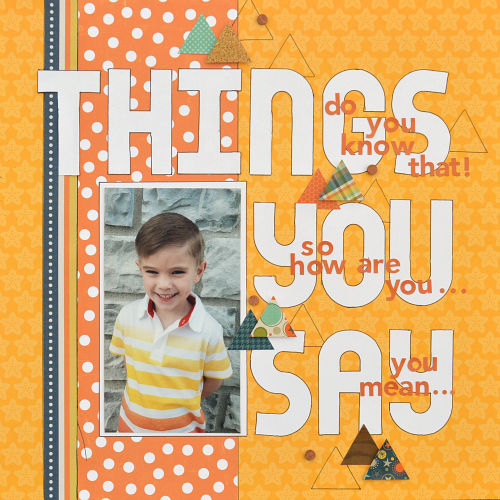
I created a big bold title using a We R Memory Keepers alphabet punch board. The title tells what the layout is about. Then I used tiny letter stickers to highlight some of his quotes. Going for a big and bold title requires a good adhesive to make sure it goes down and stays down! The E-Z Runner® Grand Refillable Dispenser got the job done perfectly!
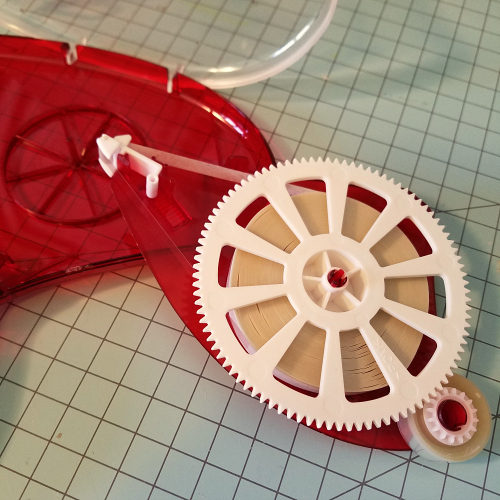
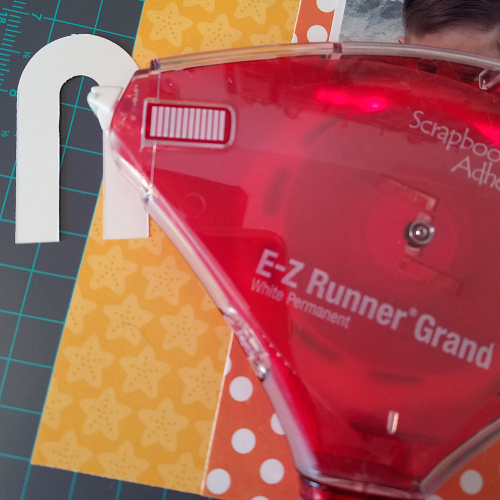 Let’s just review how easy it is to load the cartridges into this E-Z Runner Grand. I love that it’s easy and foolproof!
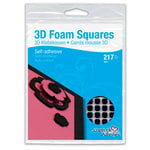
I can’t do a scrapbook layout without adding dimension and the 3D Foam Squares help make that happen.
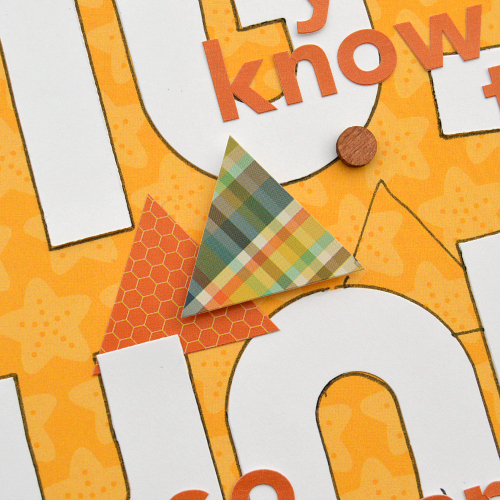
I didn’t add tons of dimension but I did use them on several triangles!
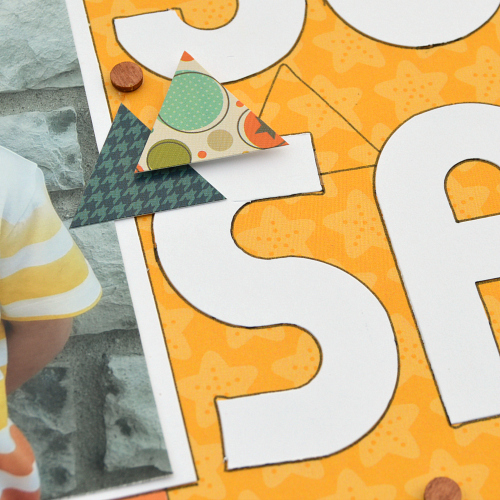
Sometimes removing the backing from foam adhesives can be cumbersome, but with these ones that is not the case, which makes that part of creation easier.
Click on any of the Affiliate Thumbnails below to check out the supplies used in this layout:
Tuesday, February 23, 2016
Heart Background Tutorial
I finally have my last Main Kit layout from My Creative Scrapbook to share with you today. I am up on their blog with details on how to make this page and I'm going to show you how I made the heart on this layout using just some ink, scrap paper, and a pencil!
I loved the striped paper in this Main Kit but I wanted to do something different with it. So I decided to create a unique heart!
Use some scratch paper and cut out a big heart. I used washi tape to secure it to the center of the paper.
Sorry for the blur on this one....no way to retake it or I would have! But you get the idea from it anyway! Use the eraser on a pencil and your ink pad and begin making random dots coming out from your heart. Random is the key here!
Add the dots all around the layout - filling in more where you see the need. Then take your scrap heart off and you have a beautiful one of a kind outline! I added in some stitching but other than that I didn't have to do much! Super easy and very unique!
Labels:
12 X 12 layout,
Bo,
My Creative Scrapbook,
Tutorial,
We R Memory Keepers
Monday, June 2, 2014
Birthday Boy Page - The Scrapbooking Studio
My oldest son turned ten less than a month ago. I have already documented his birthday party! Pretty sure that has never happened! I had "Hip, Hip, Hooray" from We R Memory Keepers to work with for The Scrapbooking Studio this month and had a great time playing with it! Today I have my final layout to share with you using it! This was also featured on the Chicagoland Scrapbooker Magazine blog today!
Birthdays are always a fun thing to scrap! I love to do a variety of pages telling stories of not only the celebration but who the child is at this point in time. This layout tells the story of the day itself! have noticed the the older the kids get the less pictures I take. This year I made sure to be intentional about snapping pictures of my ten year old on his party day. Coordinating all the pieces of the layout was made easy since I worked from one line!
I created several layers for my base - keeping the busiest pattern on the outside. I did lots of fussy cutting - including the words and balloons to add some extra whimsy to the whole layout.
Supplies Used:
Patterned Paper: We R Memory Keepers
Die Cuts: We R Memory Keepers
Enamel Dots: My Mind's Eye
Cardstock: CutCardStock
Monday, April 28, 2014
Family Birthday Wall Hanging
I got to work with the new "Hip Hip Hooray" line from We R Memory Keepers for The Scrapbooking Studio this month. For one of my projects I decided to use a mini album base and create a Family Birthday Wall Hanging. This thing was tough to get a good picture of so I am going to share bits and pieces with you.
I started with a top piece decorated with the title. I then did birthdays down each page. Each one is different because of the number of birthdays and some months have nothing! I only did aunts, uncles, grandparents, and cousins. Can you tell we have a huge extended family????
I tried to add dates next to each picture but I already see at least one mistake - lol that is what I get for making this during the craziness that is Holy Week in the Meyer House. Sorry Courtney - I will cover that up and fix it!!! Now we can all see why I need this because clearly relying on my memory is not the best route to go :)
August - no birthdays - so I acknowledge that it exists but that's it :)
I tied each section together with ribbons that coordinate and decorated each page with various stickers from the line. The month titles are actually fussy cut from a calendar page. The only tricky part in this was finding pictures that were the right size of each person's head. I had to make do in a couple spots - but overall it works!
Supplies Used:
Patterned Paper: We R Memory Keepers
Stickers: We R Memory Keepers
Gems/Pearls: BoBunny
Mini Album: Little Yellow Bicycle
Saturday, April 26, 2014
Sketchy Saturday Week 8
First up just a reminder that Cathy and I are both doing a giveaway and you have plenty of time still to enter!
And the second prize will be for a follower (on either of our blogs - or both for two chances) who leaves a comment. Just let us know which sketch has been your favorite (you can find them all here).
Now on to this week's sketch:
This week I used the sketch to make one of my samples for The Scrapbooking Studio using some birthday goodies from We R Memory Keepers!
This one came together quickly using stickers and a little fussy cutting. With a busy enough background I stuck to minimal embellishing. It seems based on this and my last post I might be on a bit of a triangle kick! Hope you are having a great weekend! If you haven't checked out the blog hop below make sure to do that too!
Supplies Used:
Patterned Paper: WRMK
Stickers: WRMK
Wood: Cosmo Cricket
Wednesday, September 25, 2013
We R Memory Keepers Guest Designer and Giveaway!
I am beyond delighted to be the featured Guest Designer today at We R Memory Keepers. They sent me pieces from their new Chalkboard Collection to work with. I created four cards and you can find three of them over at their site. I am sharing the fourth and a giveaway here!
Tips:
Sequins are really hard to machine stitch through. I learned that lesson the hard way on my first attempt at this card.
-Using an Epiphany Crafts Round Tool is an easy way to create a coordinating embellishment.
Techniques:
I discussed recently in another post the use of threes and here I did that again. Three different types of circles...different textures, different colors, but still a pretty clean style!
Supplies Used:
Patterned Paper: We R Memory Keepers
Sequins
Round Epoxy Maker: Epiphany Crafts
Ribbon: Ribbons Unlimited
Corner Rounder: We R Memory Keepers
!!!Giveaway!!!
I have some patterned paper and die cut pieces left from this collection that I would love to share with one of my readers! I'll even make you some coordinating Epiphany Crafts rounds to go with what I send! Here's how you can get entered in my giveaway:
Do Any of the Following (one entry for each)
1-Be a follower here (click the follow button)
2-Subscribe to the email list for this blog (also available on the sidebar)
3-Become a facebook fan of this page (click here)
And then leave me a comment to let me know what you did :) Thanks to each of you for stopping in today! I will close the giveaway and announce a winner on October 1st!
Labels:
card,
Epiphany Crafts,
We R Memory Keepers
Monday, November 7, 2011
The two prettiest girls...
This is another one of my creations from the crop last weekend. I had picked up this paper from My Minds Eye and stickers from We R Memory Keepers....they matched together so beautifully. I took it along so I could use it and I love how it came together. It doesn't hurt that the subjects are fantastic too!
Hey if you haven't already liked Momenta on facebook....they are trying to get to 2000 fans and they'll do a big giveaway when they get there. I would love it if you would head on over and tell them I sent you! If you click on Momenta above it's linked right to there facebook page!
Labels:
My Minds Eye,
We R Memory Keepers
Subscribe to:
Comments (Atom)

